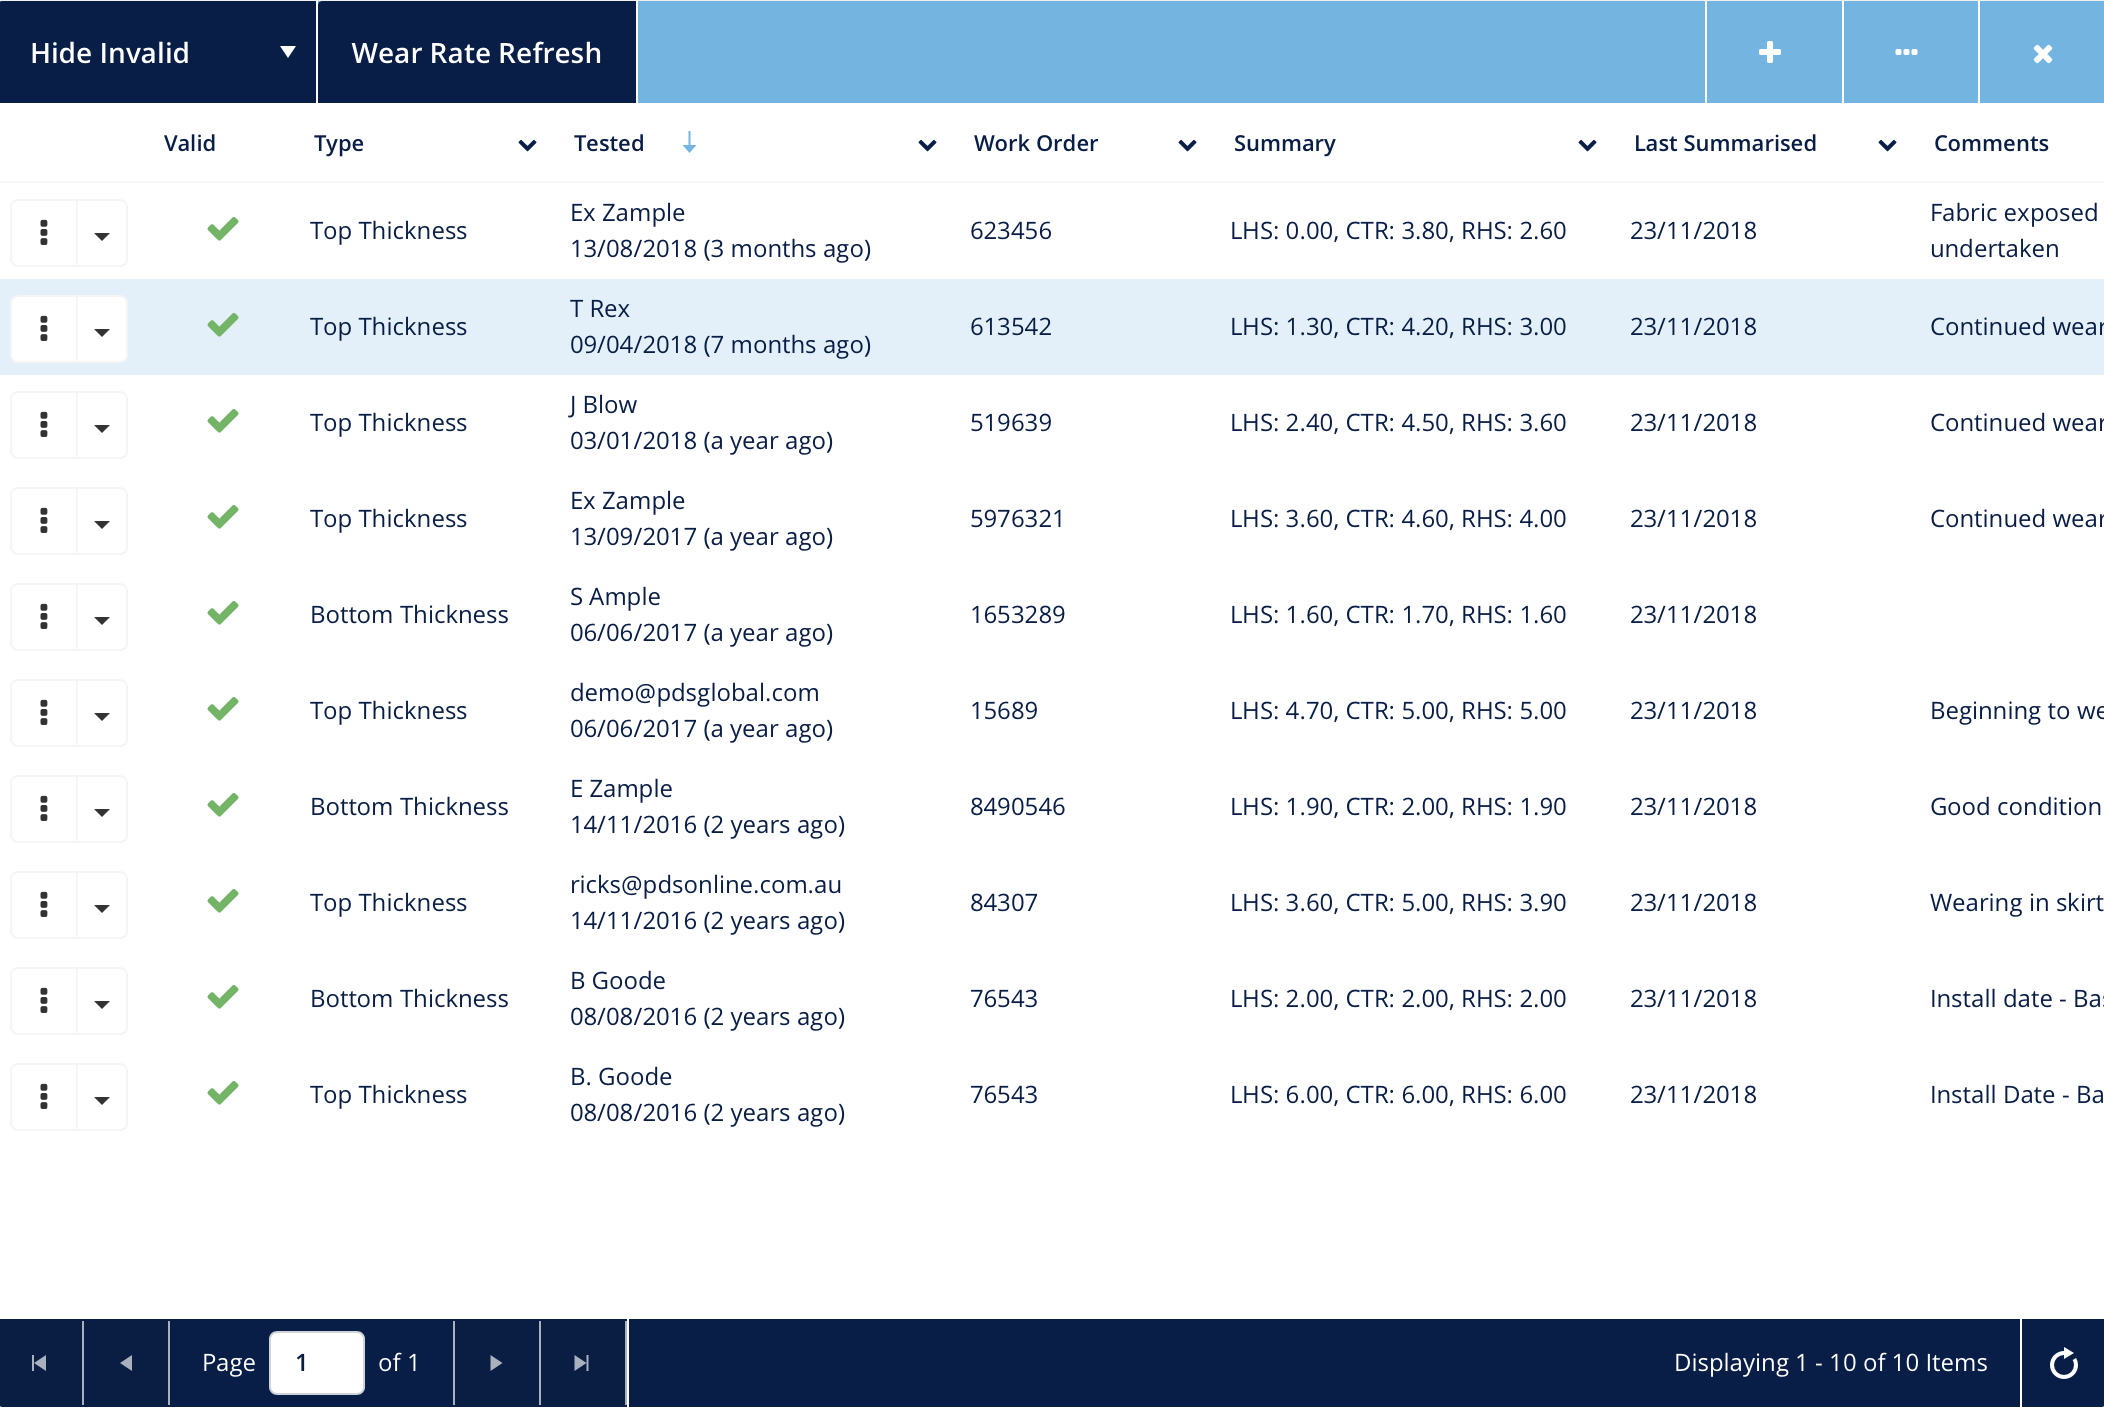
On the toolbar, click on the Plus ![]() icon to create a new wear test, click on the Cancel
icon to create a new wear test, click on the Cancel ![]() icon to cancel without saving.
icon to cancel without saving.
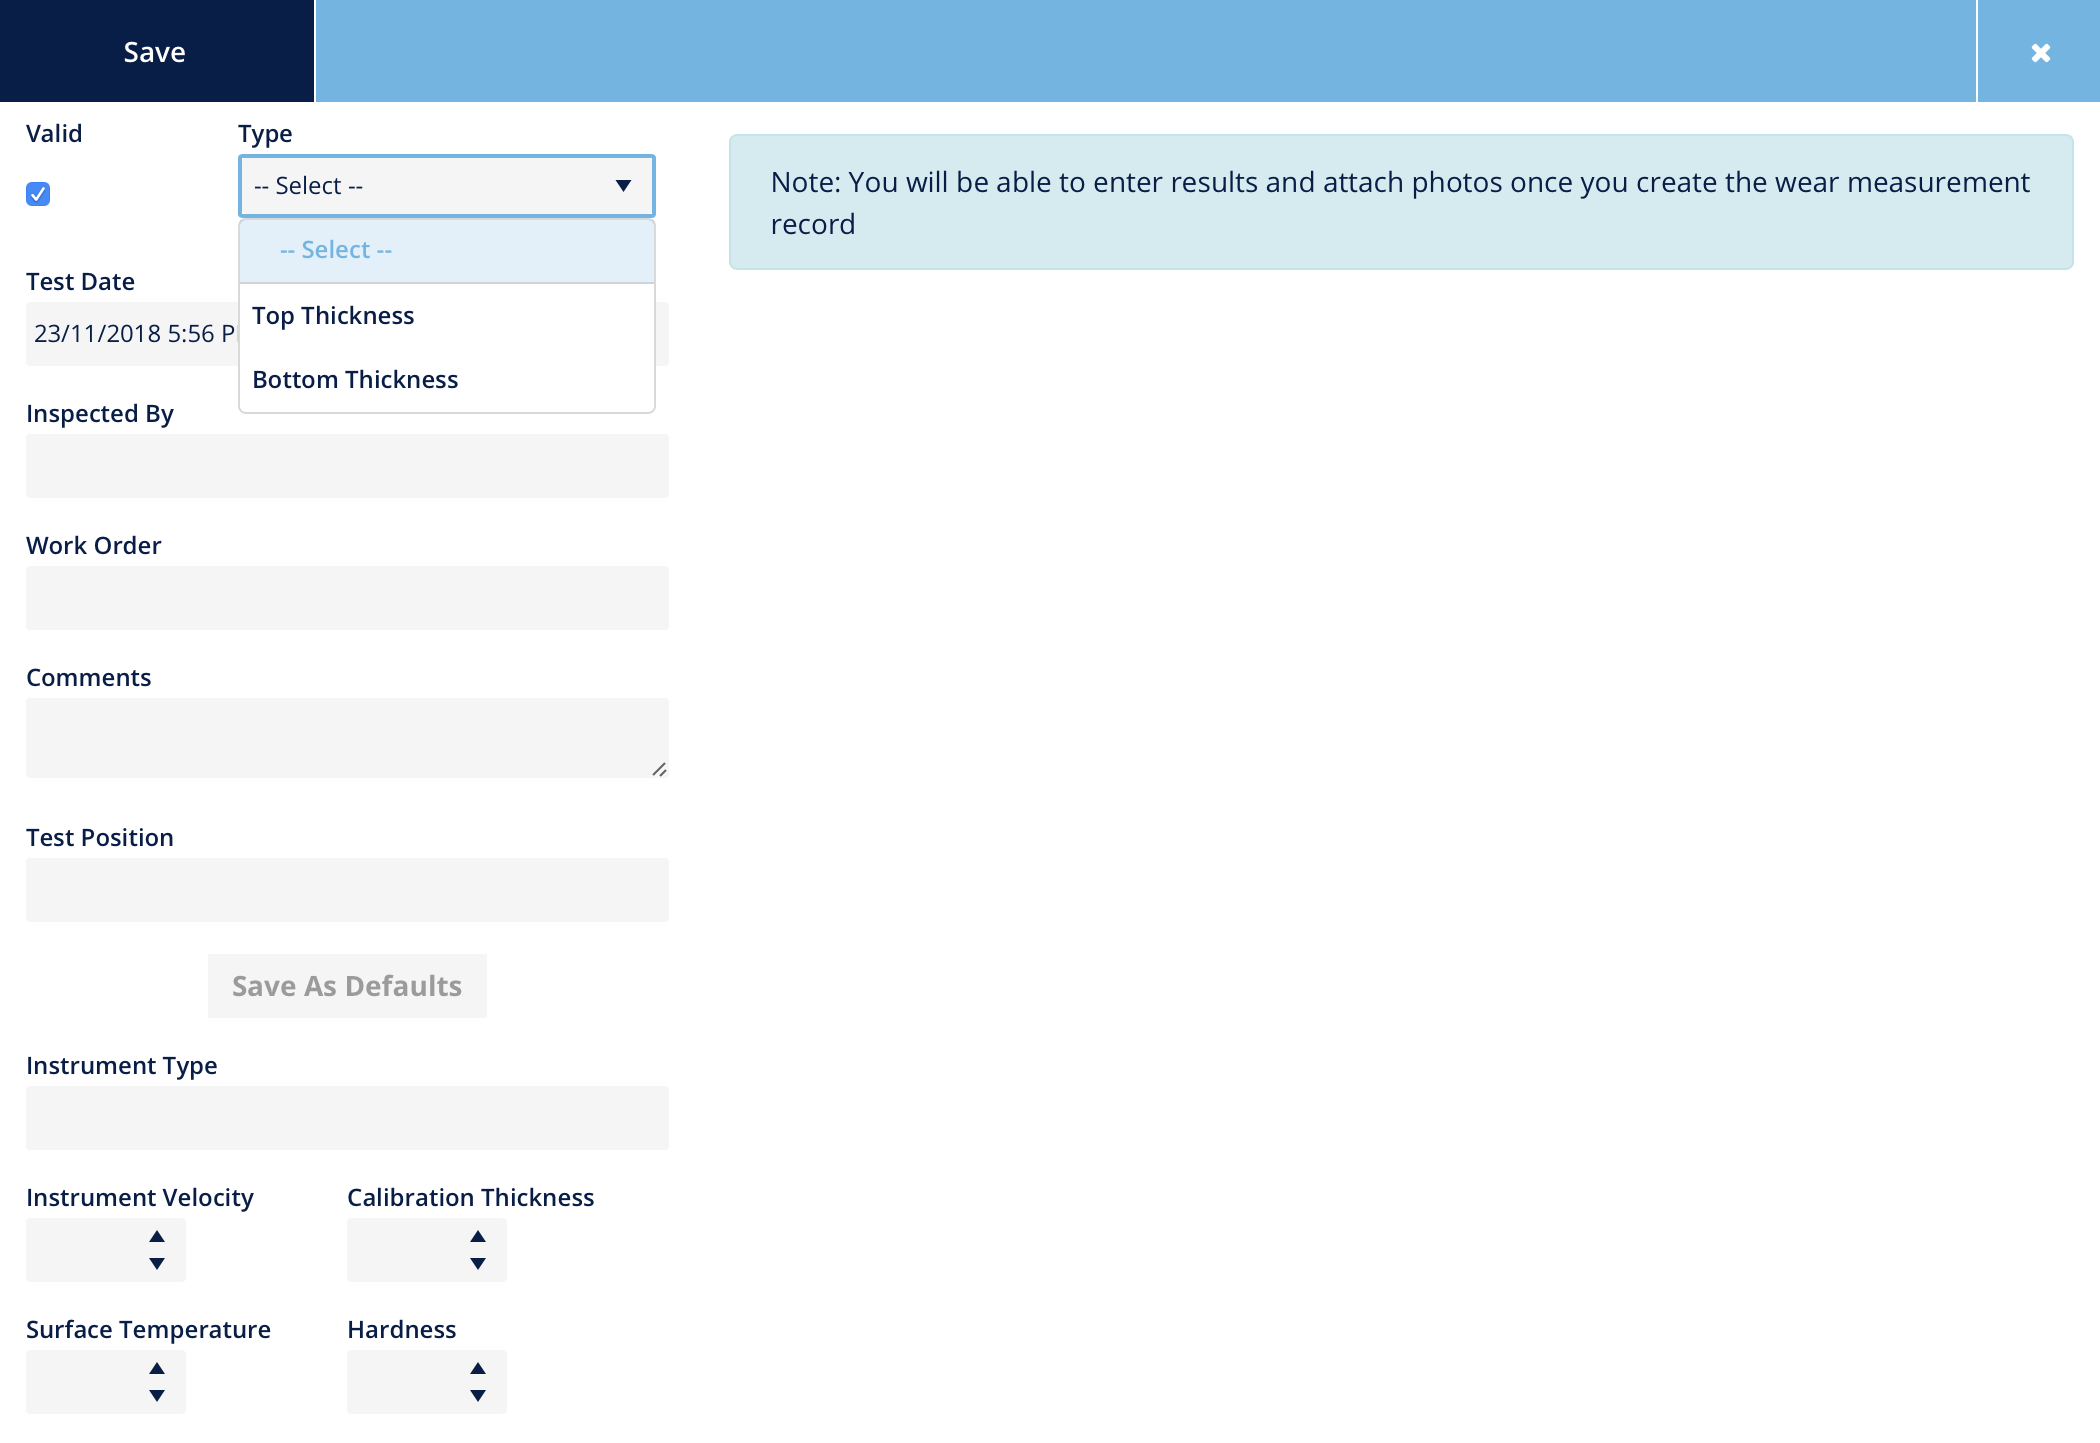
Select the required test Type, enter the Test Date and any other test details and click Save.
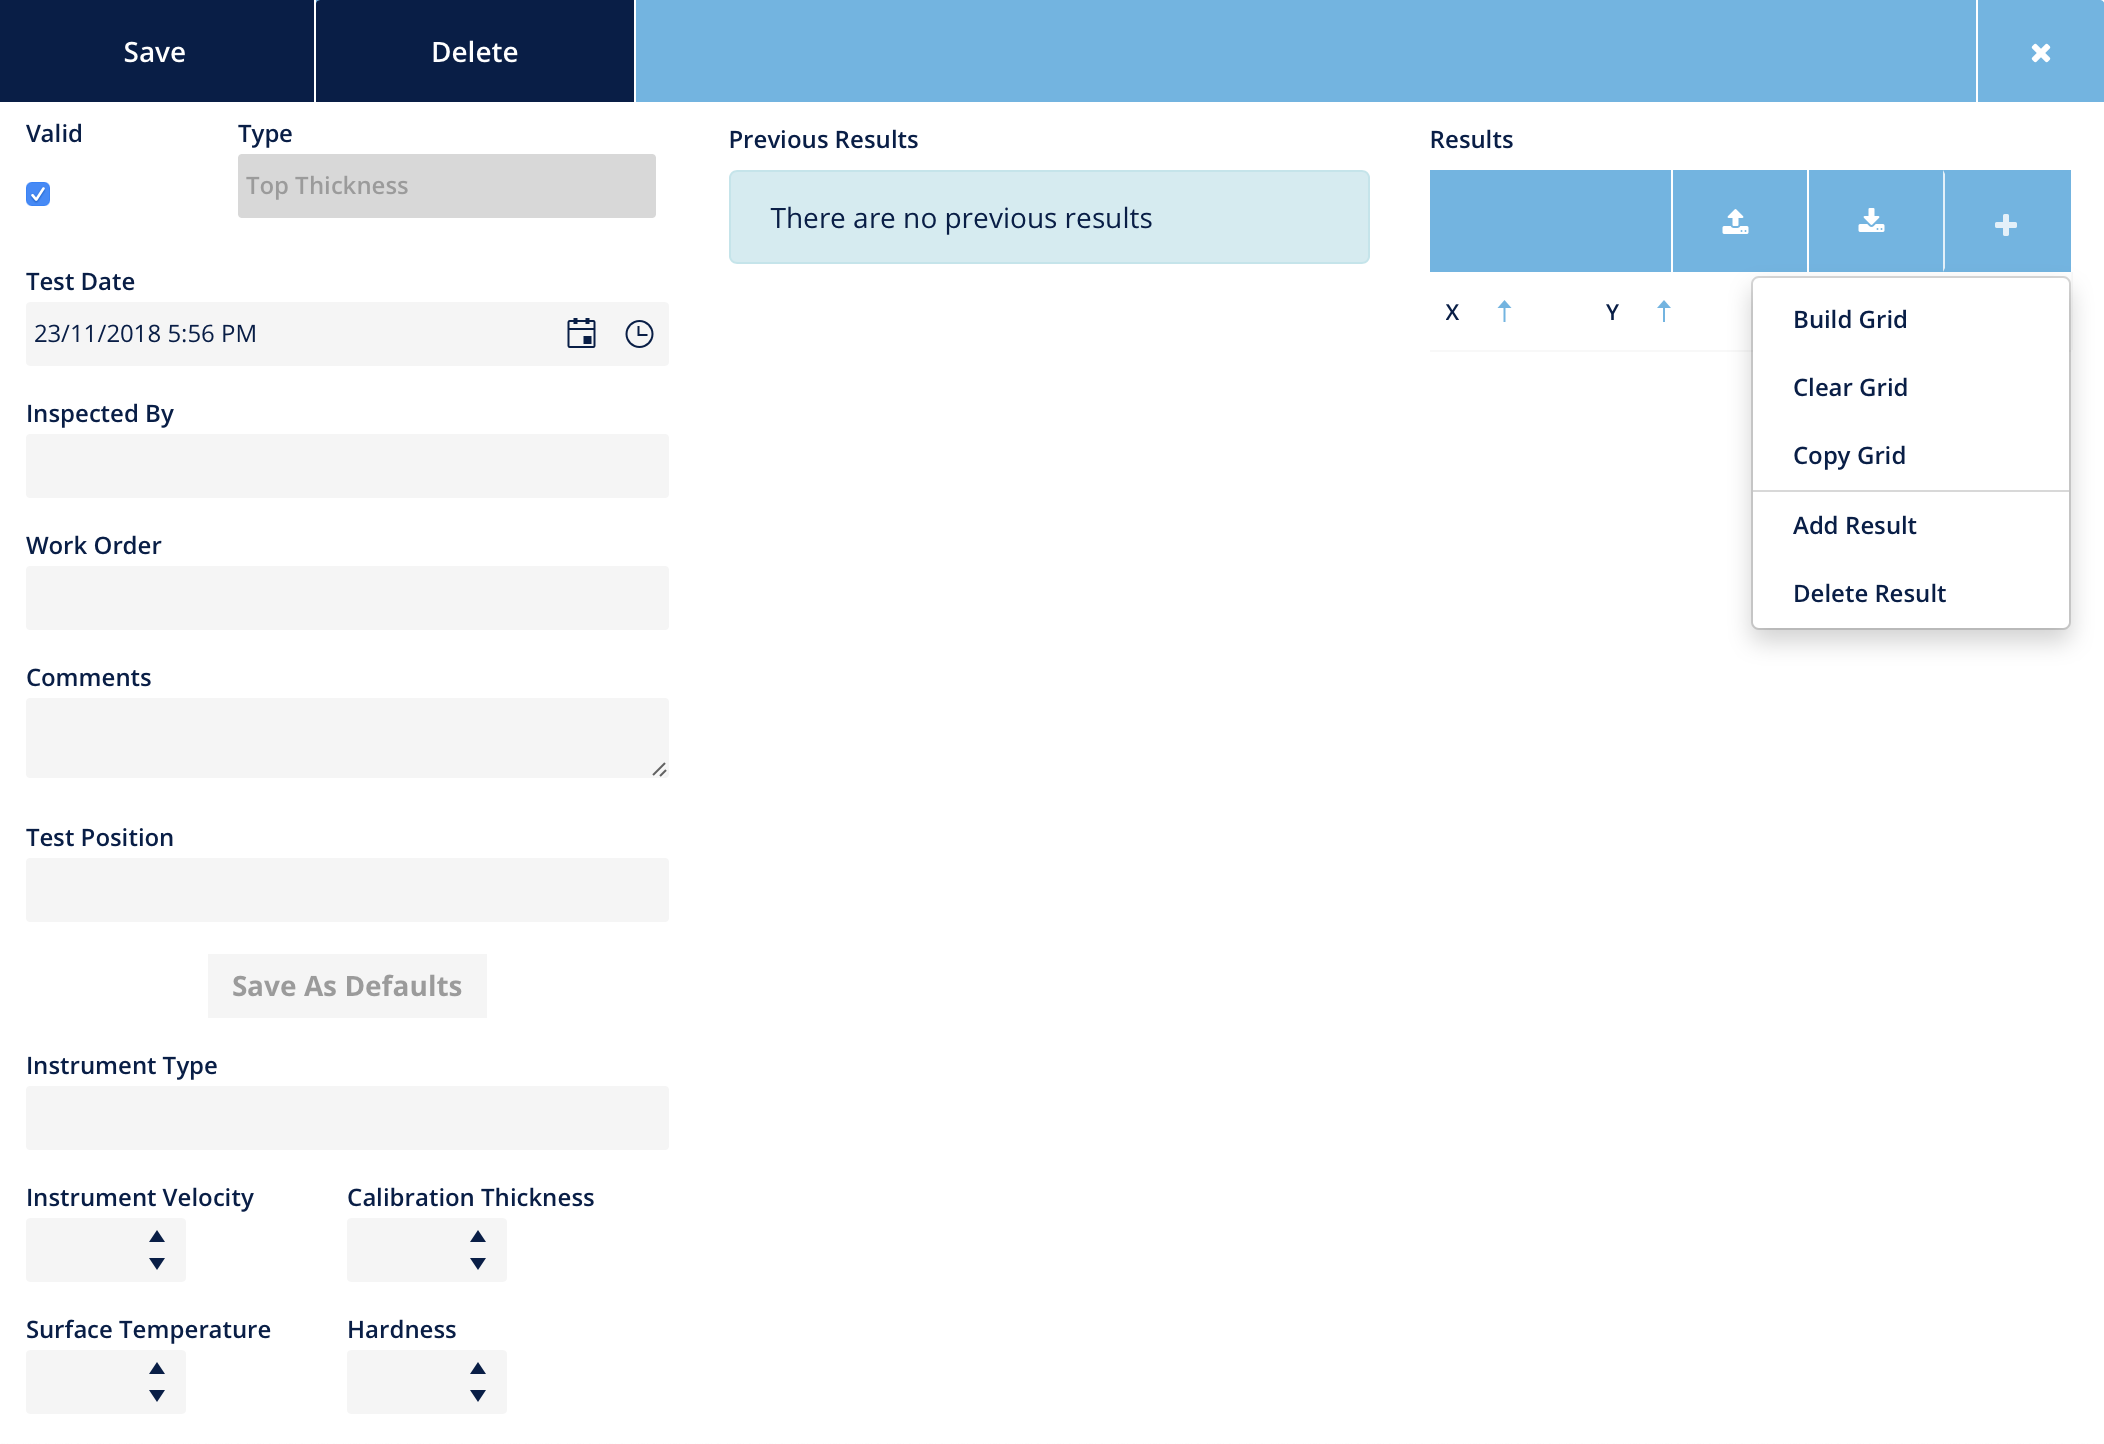
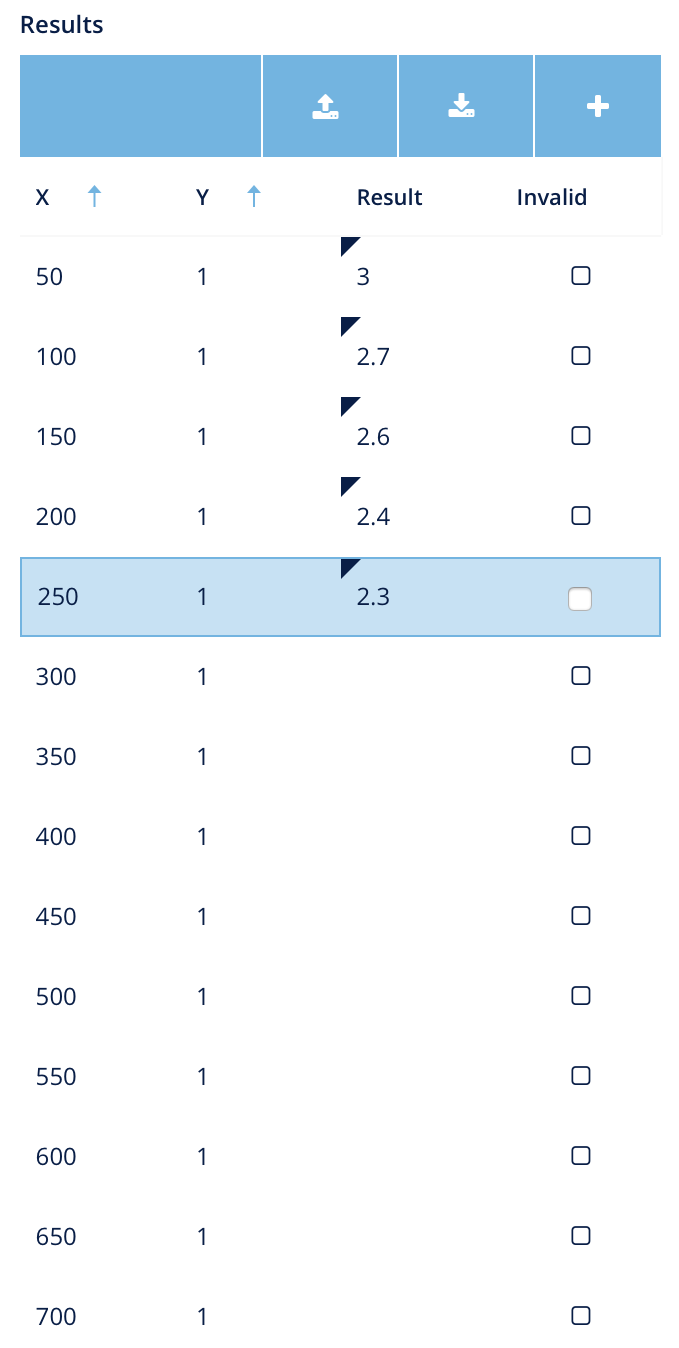
On the Results toolbar, click on the Plus ![]() icon to Build, Copy or Clear a results grid.
icon to Build, Copy or Clear a results grid.
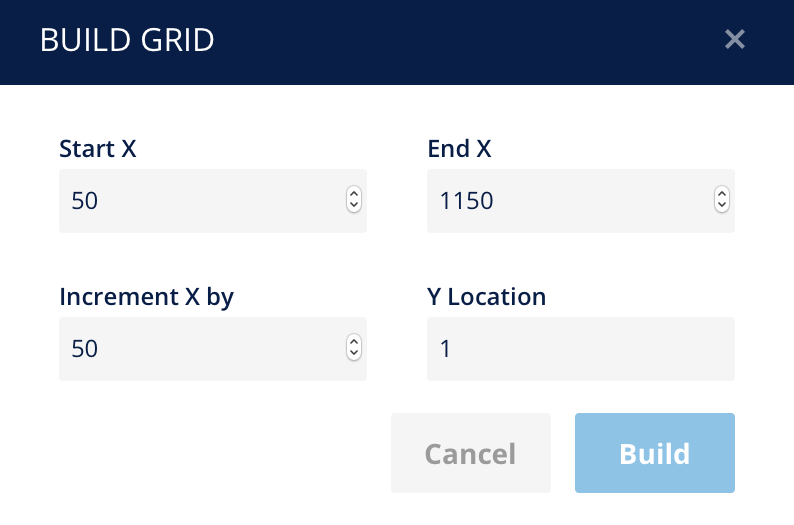
For building a grid, enter the Start X value (the starting point) where the first measurement will be measured. Enter the End X value (the ending point) where the last measurement will be measured. Enter the required Increment By value, which is the distance between measurements.
Enter the required Y Locations. Y locations are readings along the same belt section. If only testing on one location, enter 1. Multiple Y locations may be required if multiple tests are to be conducted on the same section of belt on the same day. This is to ensure accurate forecasting. To add multiple locations, type comma separated values, for example, to create three Y locations, enter "1,2,3".
Click on the Build button, or Cancel to go back.
Copying a grid will duplicate the grid from the previous test.
Click into the Result cell of any row to update/edit it, hit the Enter key to navigate through the results, enter the required Result, tap Valid (switch from unticked to tick) to mark a result invalid.
Click the Save button to save the test and the results.