The easiest way to export is to use the export icon  which can be found on most screens. Click on the icon and the requested data will be exported. You will be prompted to either save or open the file. The export is relative to where you are in the hierarchy. In this example, only the records for the Group "Raw Coal" and Department "Conveyors" will be exported. If there was another group with conveyors for example, these records would not be exported.

The exported data will differ in format depending on what is exported, but it will always have as the first column the unique identifying number for that record.

This number allows records to be updated, so care needs to be taken not to delete or change these numbers. If the number was deleted for example, a new record would be created using that records information, subject to any validation checks.
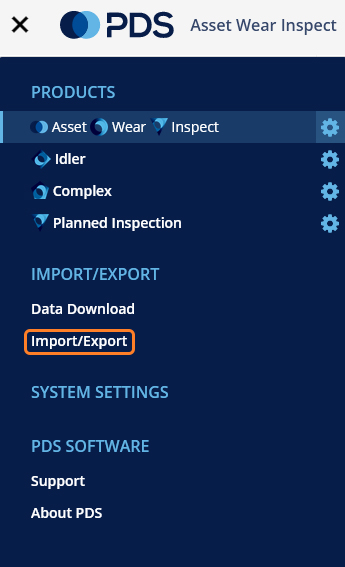
The other Export option is use Import/Export from the hamburger menu.

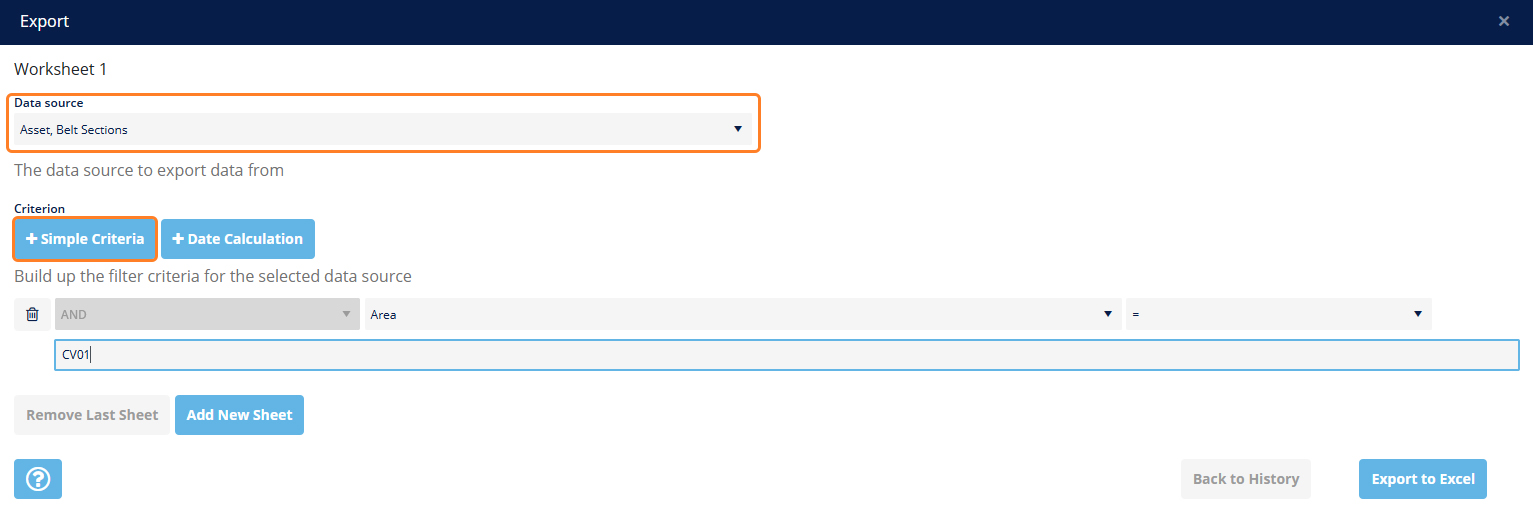
Once you click on Import/Export, you may be presented with the history screen, depending on what Import/Export activity there has been. Click on the Export icon  to transition to the Export screen, and then make a selection from the drop down as shown.

Once the Data Source has been selected, use the Simple Criteria button to add in criteria for the export. You don't have to add criteria, but it means you will get all data for that business under that data source. You can also use the Date Calculation button to further filter the results. When complete, click on Export to Excel.
