Accessing the Flir One thermal camera settings
The iPDS app provides integrated support for the Flir One Thermal Imaging Camera Attachment. This feature enables users to make assessments in the field and capture thermal images to data in PDS Idler, PDS Wear or PDS Inspect.
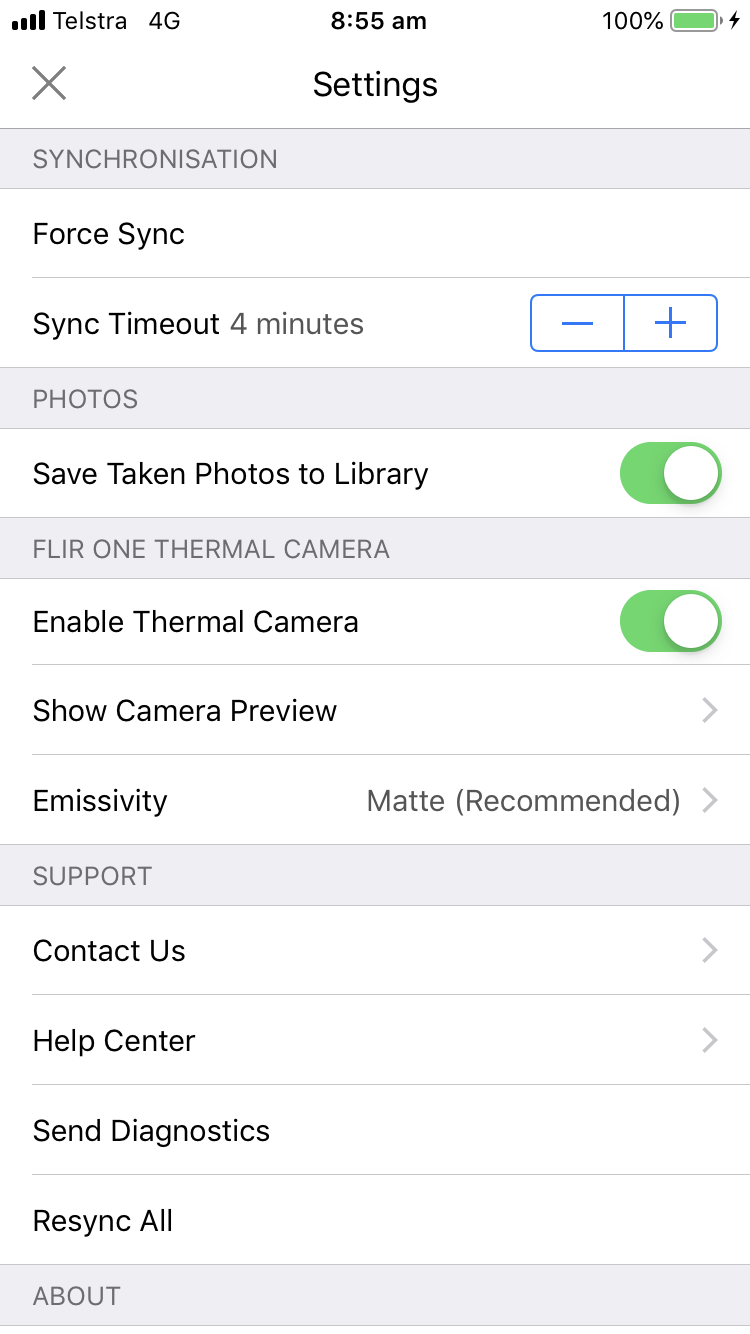
To enable the Flir One camera attachment, fit a Flir One camera attachment to the lightning port, tap the Settings ![]() icon and tap Enable Thermal Camera.
icon and tap Enable Thermal Camera.
Using the camera preview function
Tap the Settings ![]() icon and tap the Show Camera Preview menu item. This feature allows the user to use the camera attachment in preview model only.
icon and tap the Show Camera Preview menu item. This feature allows the user to use the camera attachment in preview model only.
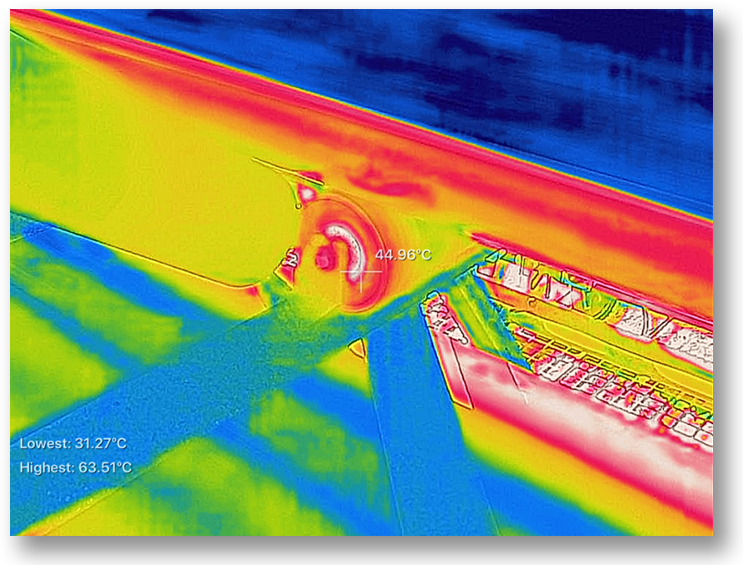
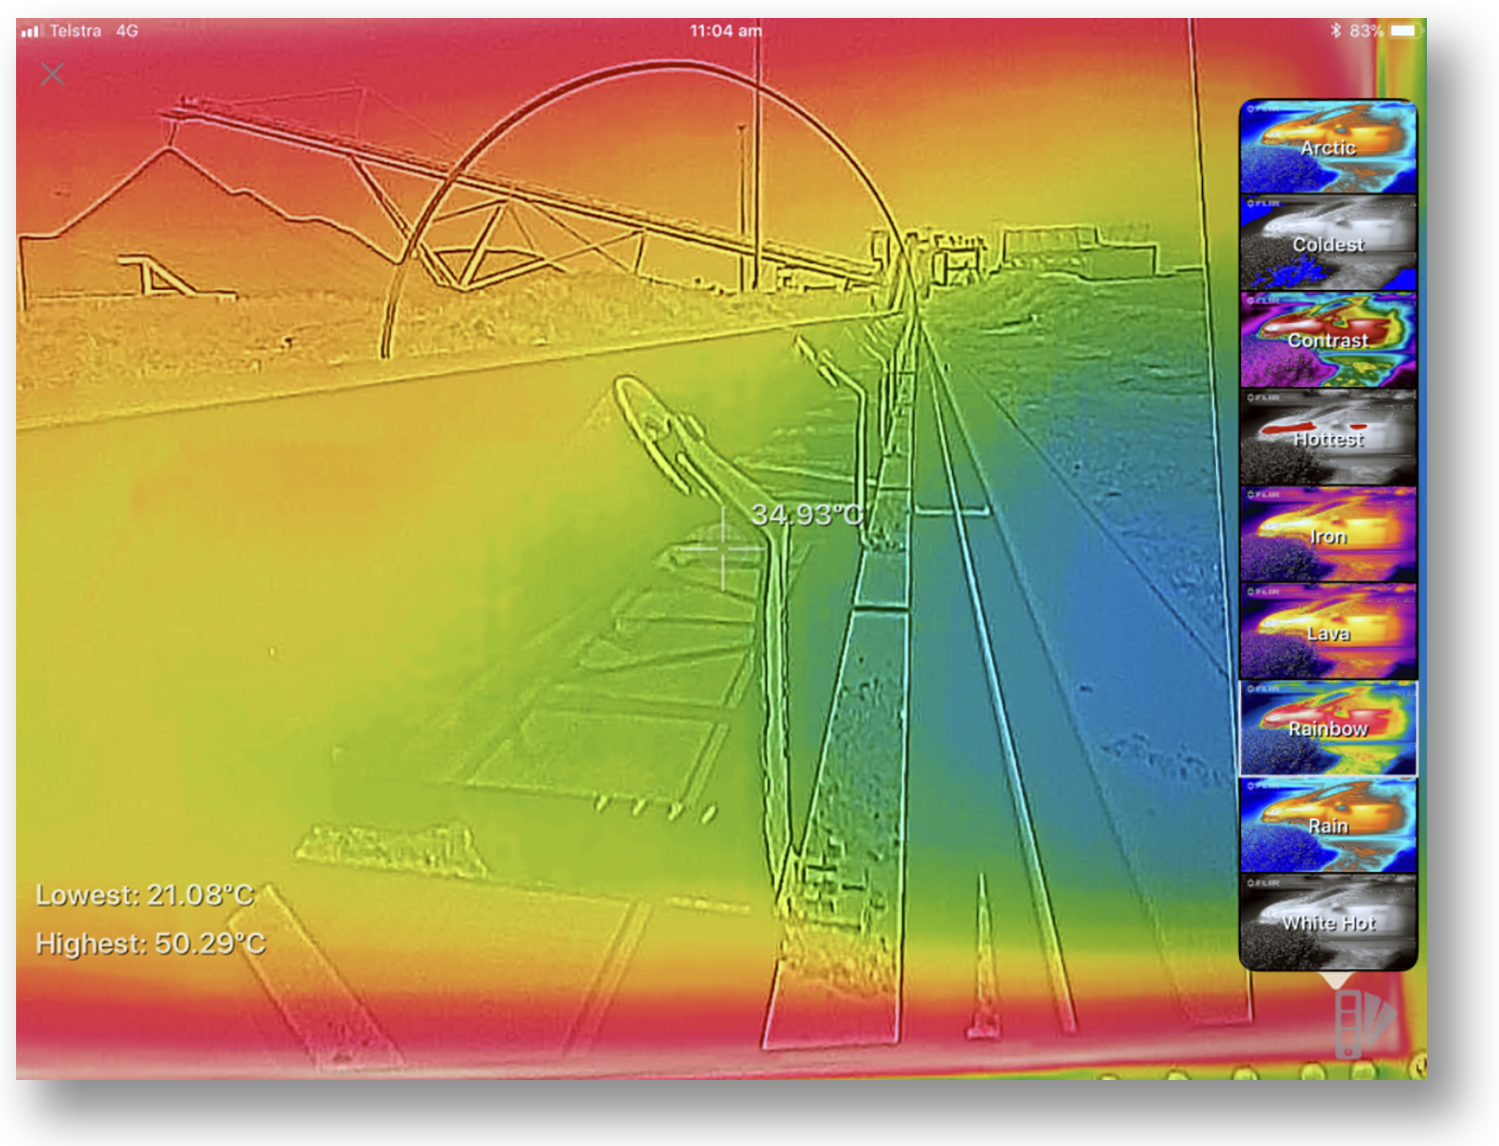
The visible cross hair displays the temperature of that point. On the bottom left of the image a lowest and highest temperature for the area shown on the screen is displayed.
Tap on the symbol on the bottom right of the image to view and change the colour palette to your preference. Tap on the Cancel ![]() icon on the top left to return to the settings menu.
icon on the top left to return to the settings menu.
Changing emissivity
Tap the Settings icon and tap the Emissivity menu item to change this setting. The default setting is set on "Matte (Recommended)". If you wish to change, for instance whilst viewing a more reflective surface, tap the Emissivity menu item and change it to the required setting.
Adding a thermal image to a record
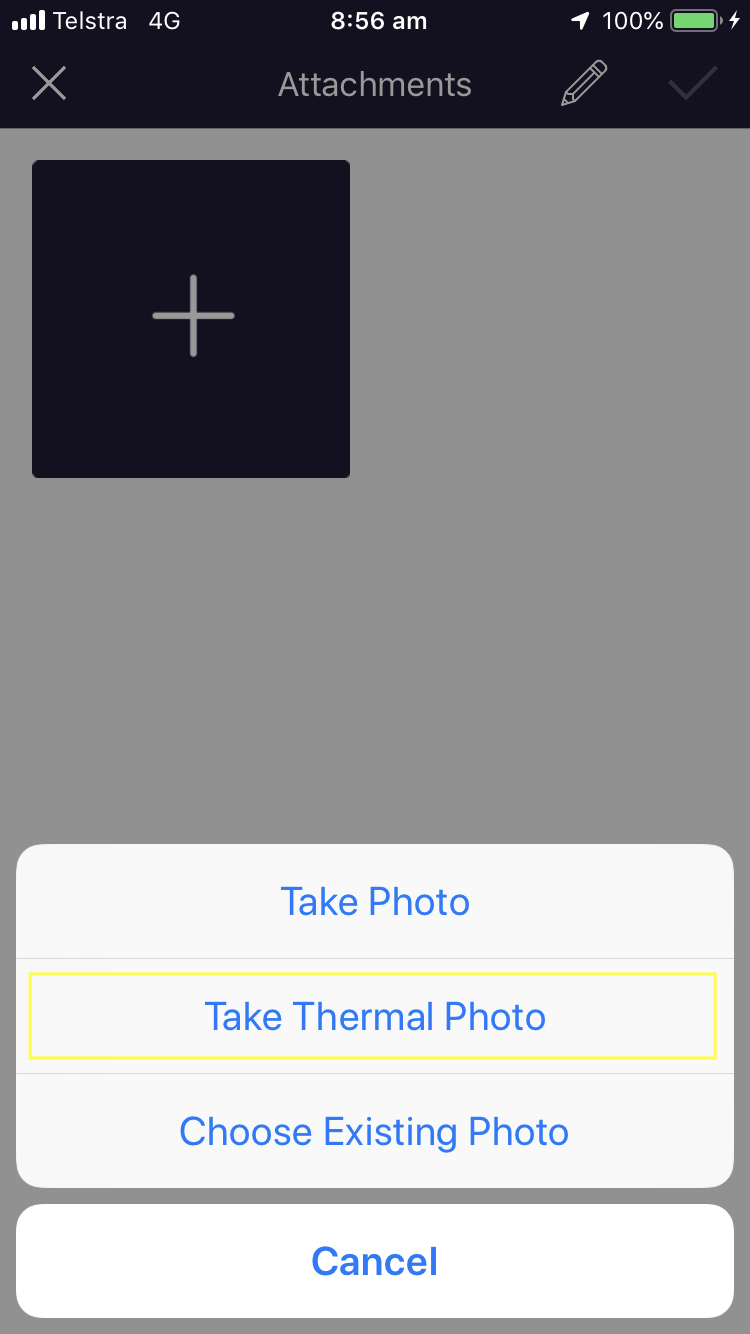
Similar to taking a photo using the devices built-in camera, a thermal image can also be attached to a record.
Tap the Tick ![]() icon, tap Take Thermal Photo. When in position to take photo, tap on the shutter icon at the centre of the right side of the screen. Tap Use Photo or Retake if required.
icon, tap Take Thermal Photo. When in position to take photo, tap on the shutter icon at the centre of the right side of the screen. Tap Use Photo or Retake if required.
Tap the Tick ![]() icon to save the image.
icon to save the image.